Use your Synology NAS as a personal free VPN (using OpenVPN)
When traveling to some countries, you might need a VPN. I won't sell you any VPN here, but if you have a NAS at home, you basically have a personal VPN. Follow this tutorial and you can route all your traffic through your home!

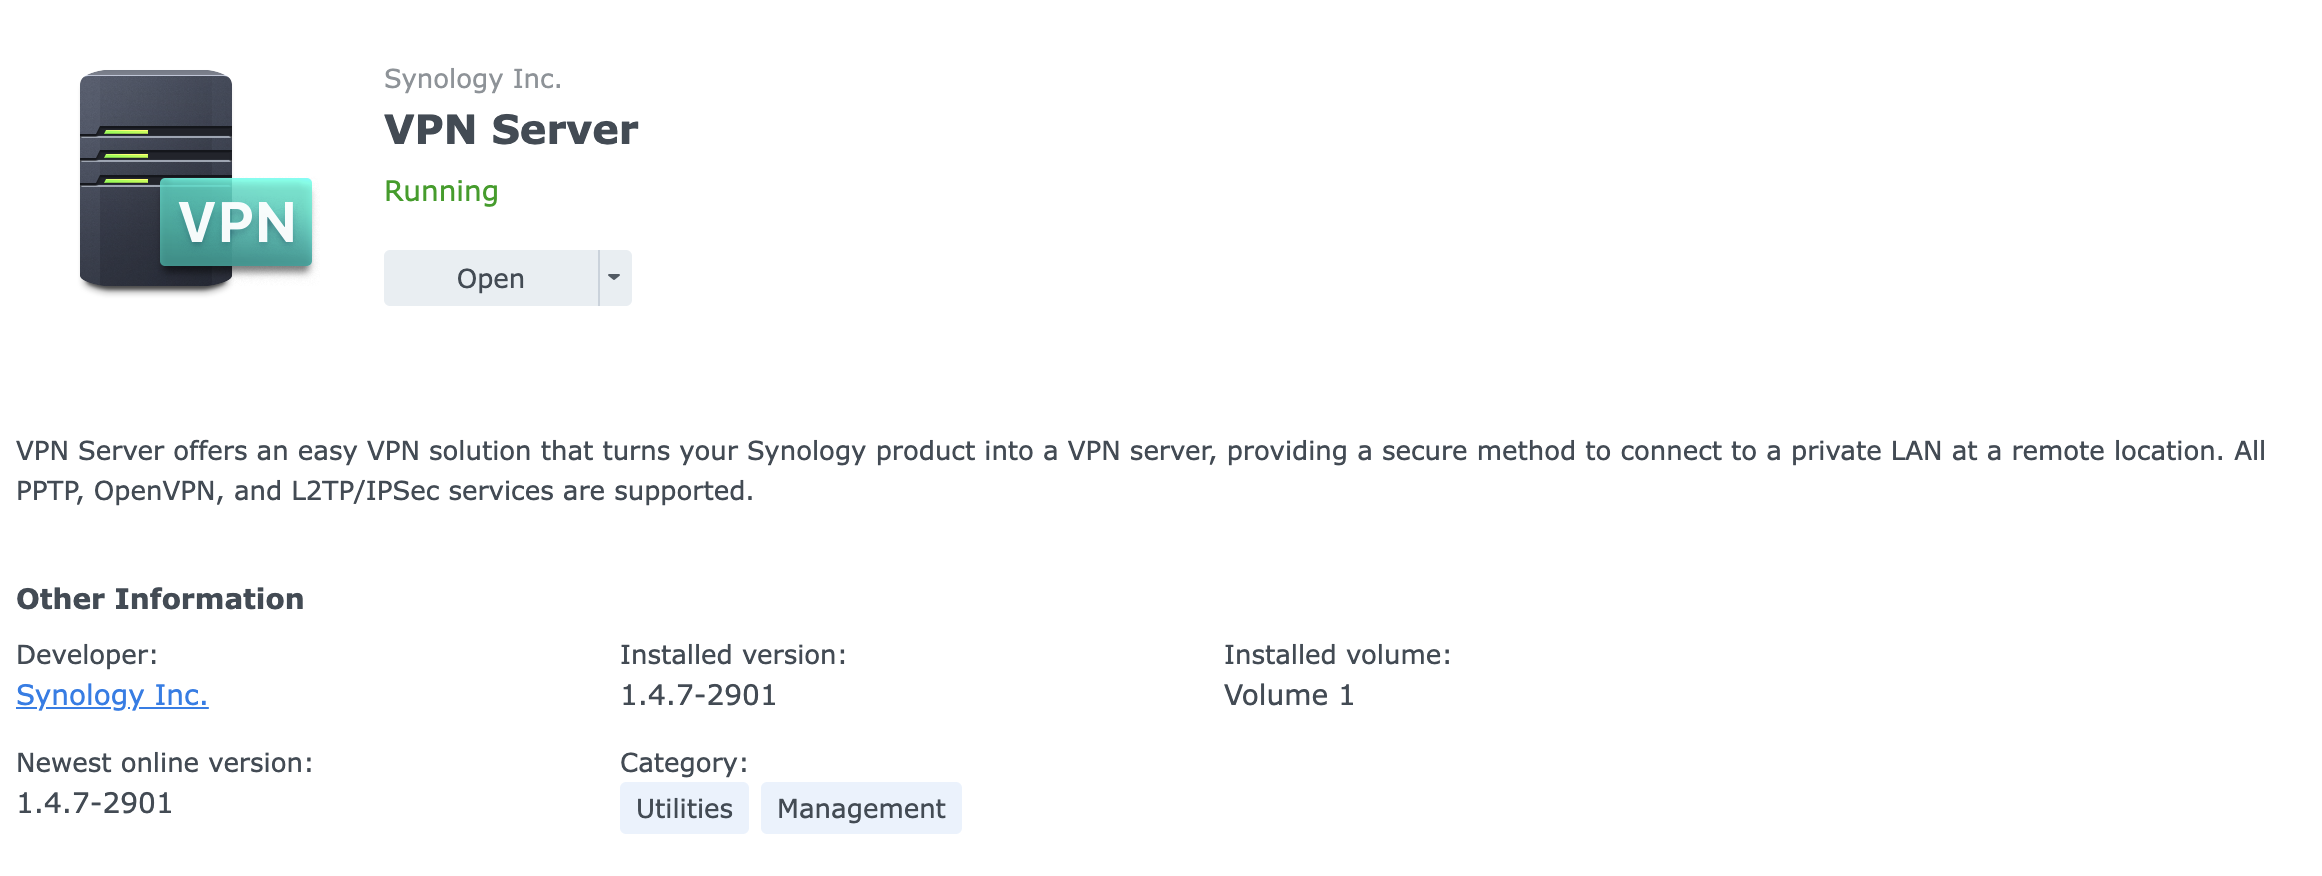
1) Install the VPN Server package
- Open DSM (Synology DiskStation Manager) in a browser.
- Go to Package Center.
- Search for VPN Server and install it.
2) Enable OpenVPN
- Open the VPN Server app.
- In the left panel, click OpenVPN.
- Check Enable OpenVPN Server.
- Configure the following settings (leave most default is fine):
- Dynamic IP address: 10.8.0.0 (default is fine)
- Maximum connection number: as needed (5 is minimum)
- Port: 1194 (default)
- Protocol: UDP (recommended)
- Check options like:
- “Enable compression on the VPN link”
- “Allow clients to access server’s LAN”: Means you can access other devices on the "local" network of your NAS. If off, you can only see the NAS.
- Click Apply.
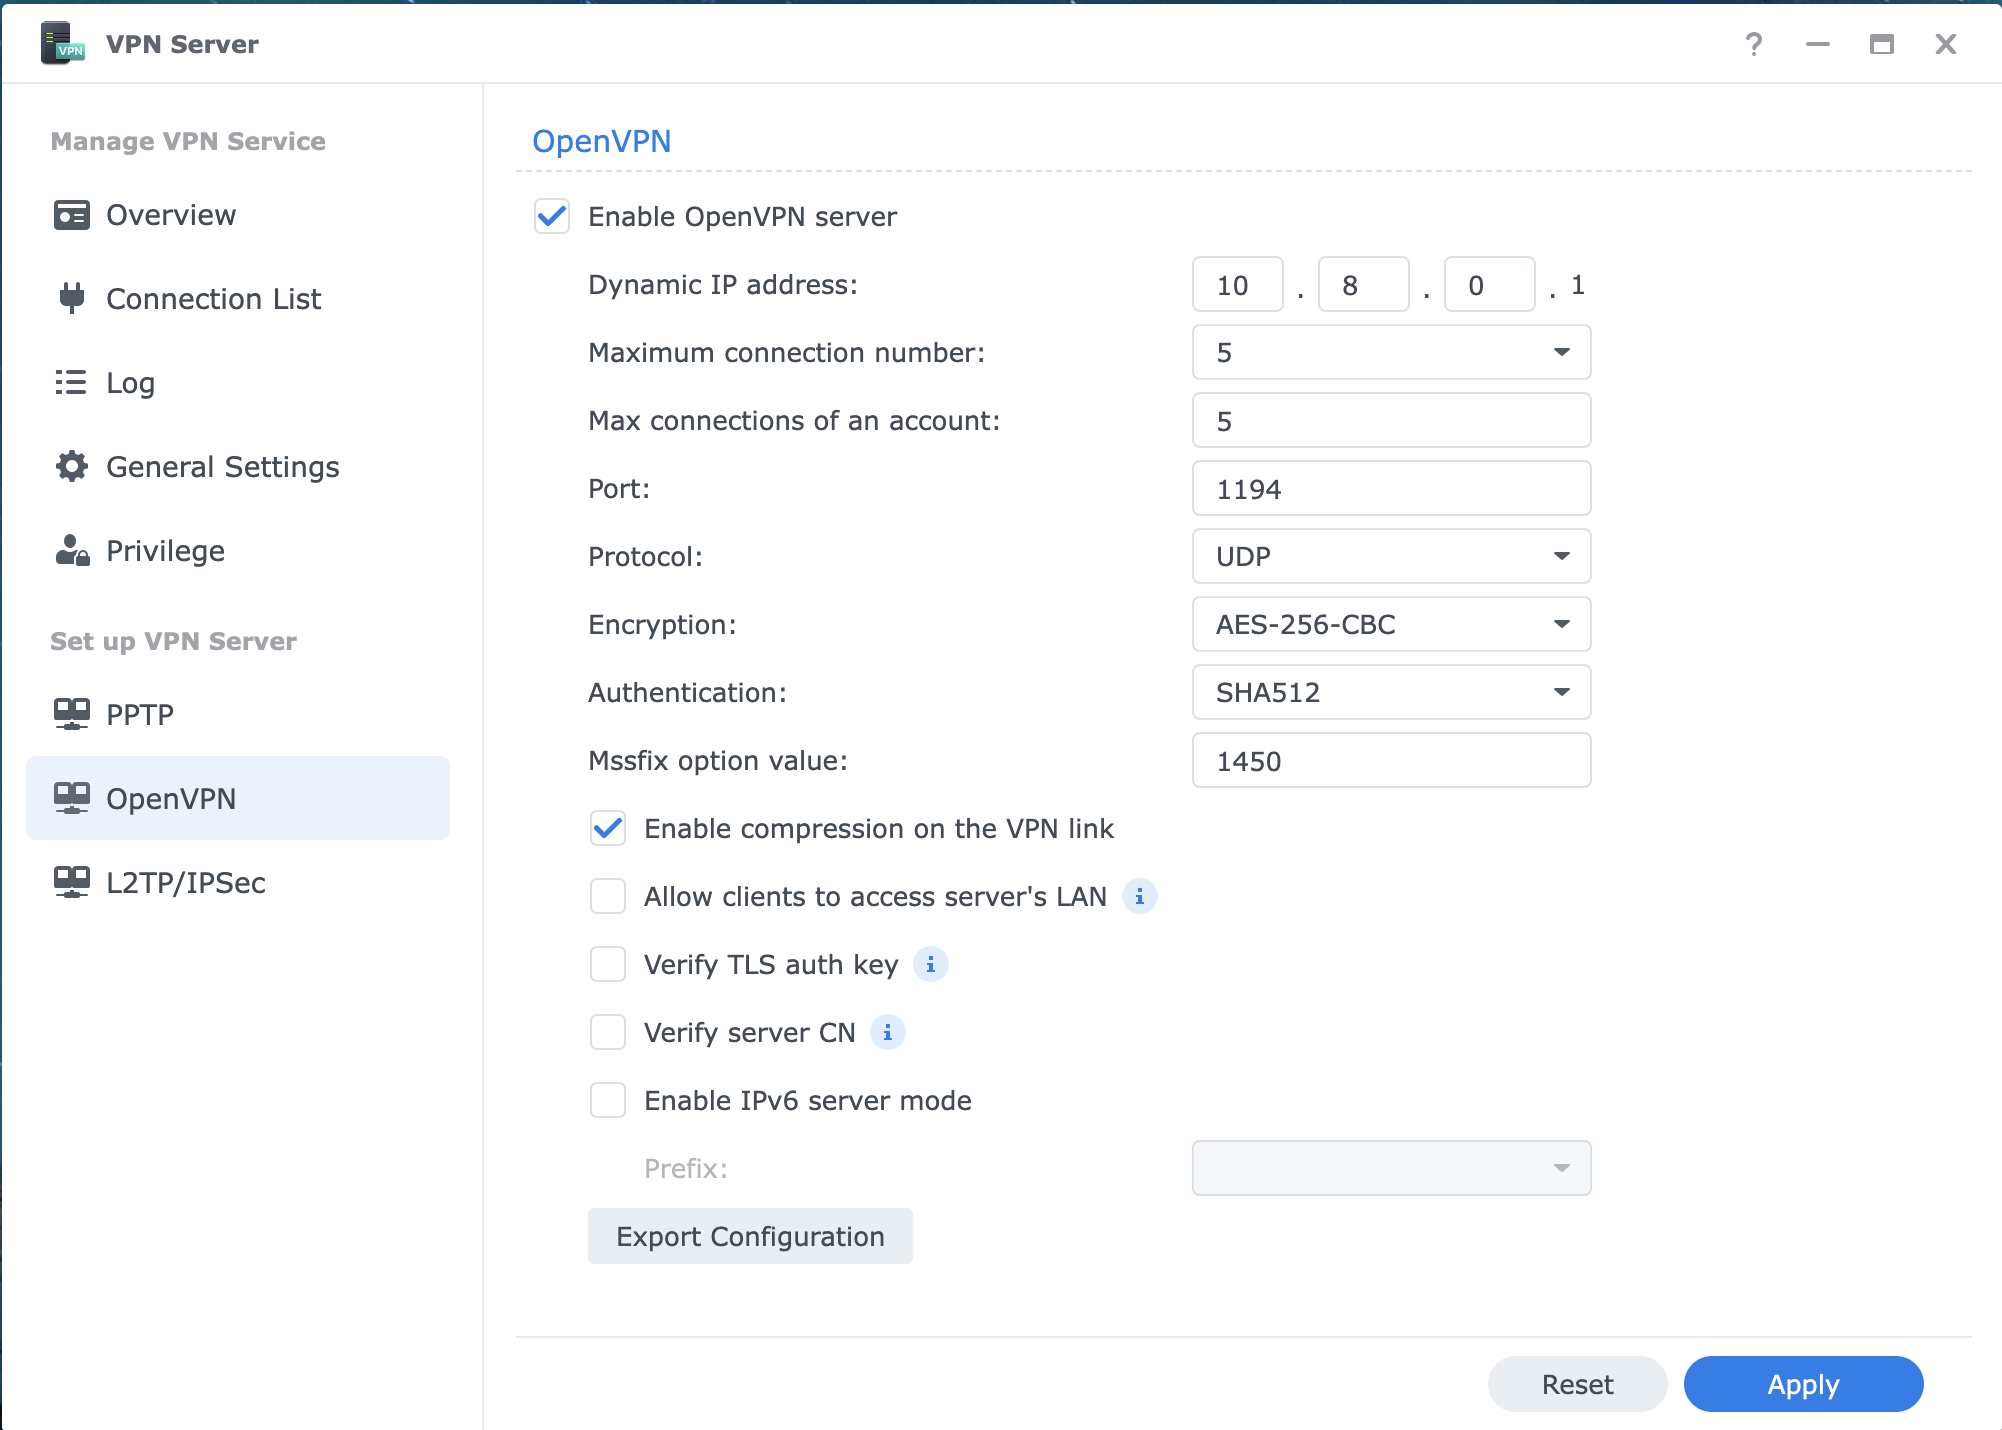
3) Export the OpenVPN Configuration
Still in the OpenVPN tab, click Export configuration, button at the bottom.
This will download a ZIP file that might be containing:
- openvpn.ovpn (configuration)
- A .crt file (certificate)
- A .key file (user’s key)
4) Edit the Configuration File
Open the openvpn.ovpn file in a text editor like Visual Studio Code.
4.1) Remote address
Locate this line :
remote YOUR_NAS_DOMAIN_NAME_OR_PUBLIC_IP 1194
And replace YOUR_NAS_DOMAIN_NAME_OR_PUBLIC_IP with either:
- Your public IP, this implies that you have a static IP address given by your Internet Provider, because if it is a dynamic IP, your Provider might give you a new one on reboot.
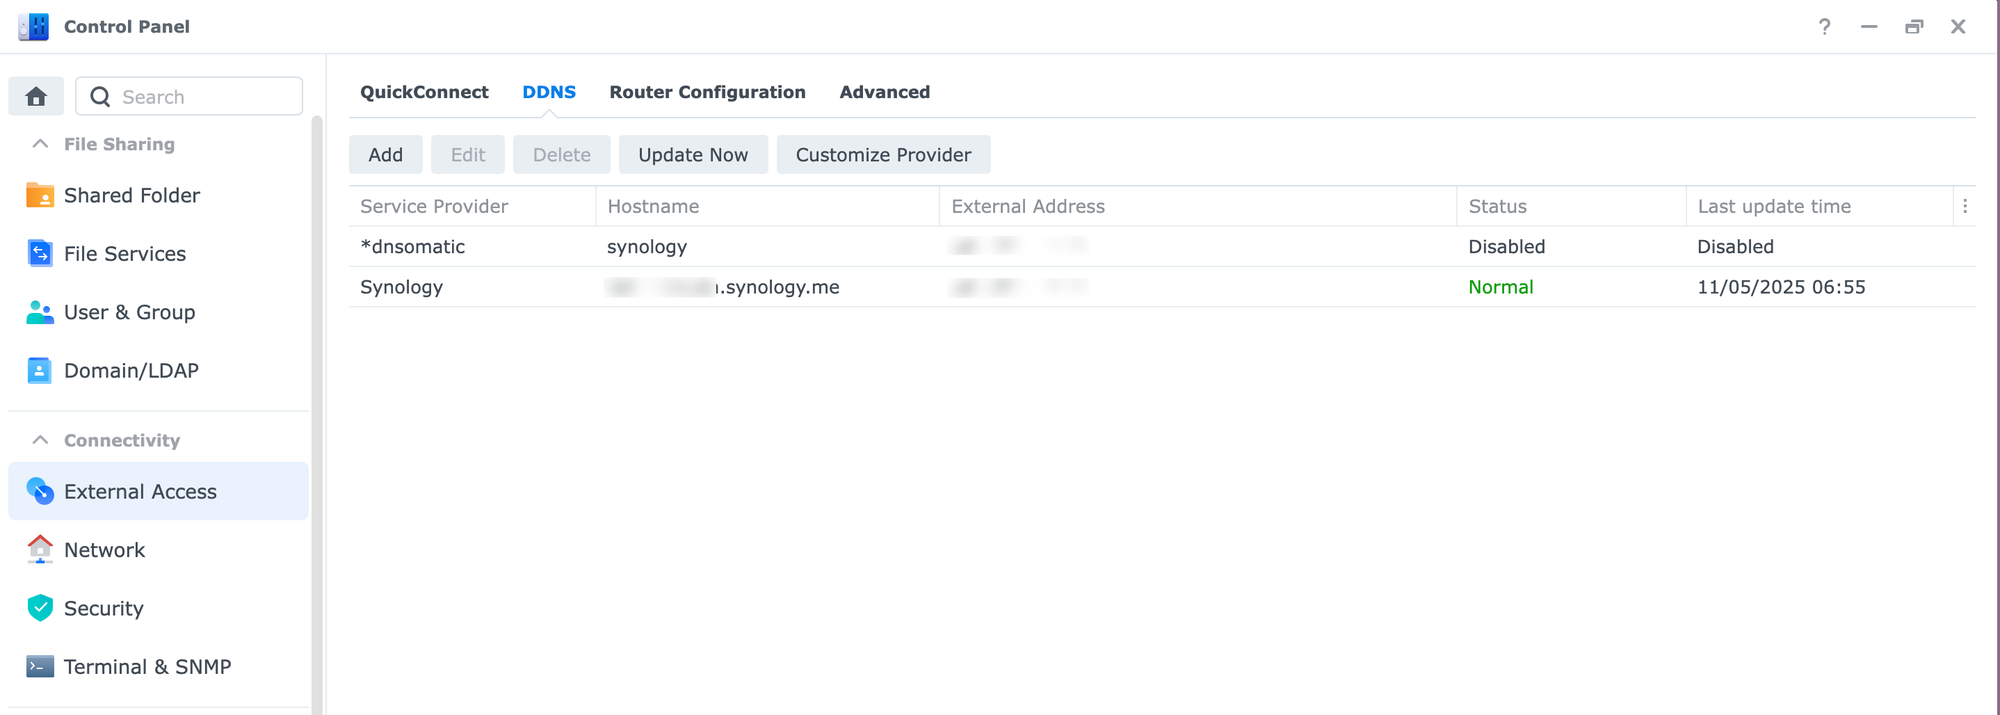
- OR your NAS Domain Name (e.g., myname.synology.me), if you have configured DDNS (check in External Access > DDNS)
4.2) DNS configuration (recommended)
Locking the DNS config by updating this line:
#dhcp-option DNS DNS_IP_ADDRESS
Replacing it with these (for example):
dhcp-option DNS 8.8.8.8
dhcp-option DNS 8.8.4.4
4.3) NoBind (optional)
Prevents binding to a specific local port, it is helpful for mobile devices that change networks. Uncomment this line:
nobind
4.4) Redirect-Gateway (optional)
What it does
When enabled, by uncommenting this line:
redirect-gateway def1
- it routes all your internet traffic through the VPN tunnel, not just traffic destined for specific networks
- it creates a default route with higher priority (lower metric value) than your normal internet connection
- it makes your device use the VPN for all outgoing connections
Benefits
- Privacy: Your ISP can't see what websites you're visiting
- Security: Traffic is encrypted when using public Wi-Fi
- Access control: Bypasses geographic restrictions
- IP masking: Websites see the VPN server's IP, not yours
Potential drawbacks
- Increases load on the VPN server
- May reduce your internet speed
- Some services might detect and block VPN connections
- If the VPN disconnects, you might lose internet access temporarily
4.5) Add connection timeouts to help recover in case of disconnection (recommended)
Add these extra lines to make your link more robust:
connect-retry-max 5
connect-retry 5
resolv-retry 60
5) Set up Port Forwarding
In your router's configuration, forward UDP port 1194 to the local IP address of the Synology NAS.
Example: forward 1194 UDP → 192.168.1.100:1194
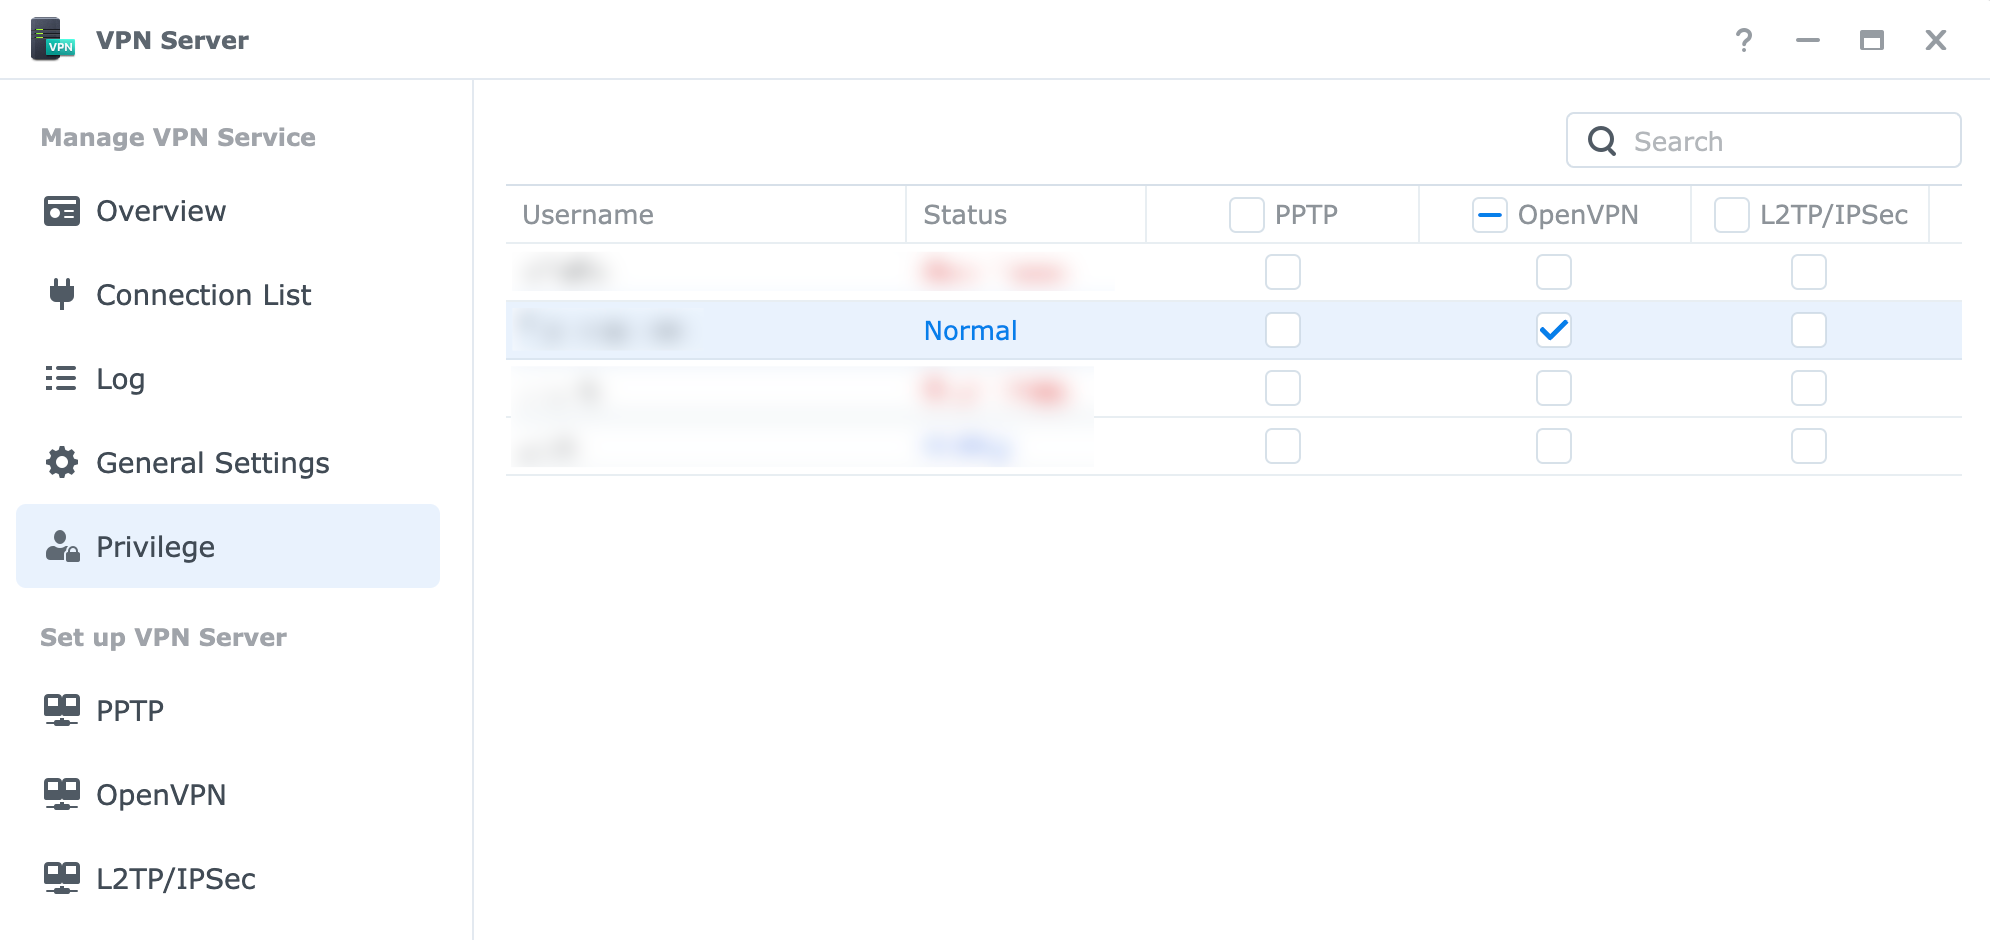
6) Enable VPN Access for Users
Back in DSM, go to VPN Server > Privilege
Edit the user account(s) that should be able to connect.
I like to disable all other accounts, and leave only the one that I will use for VPN :
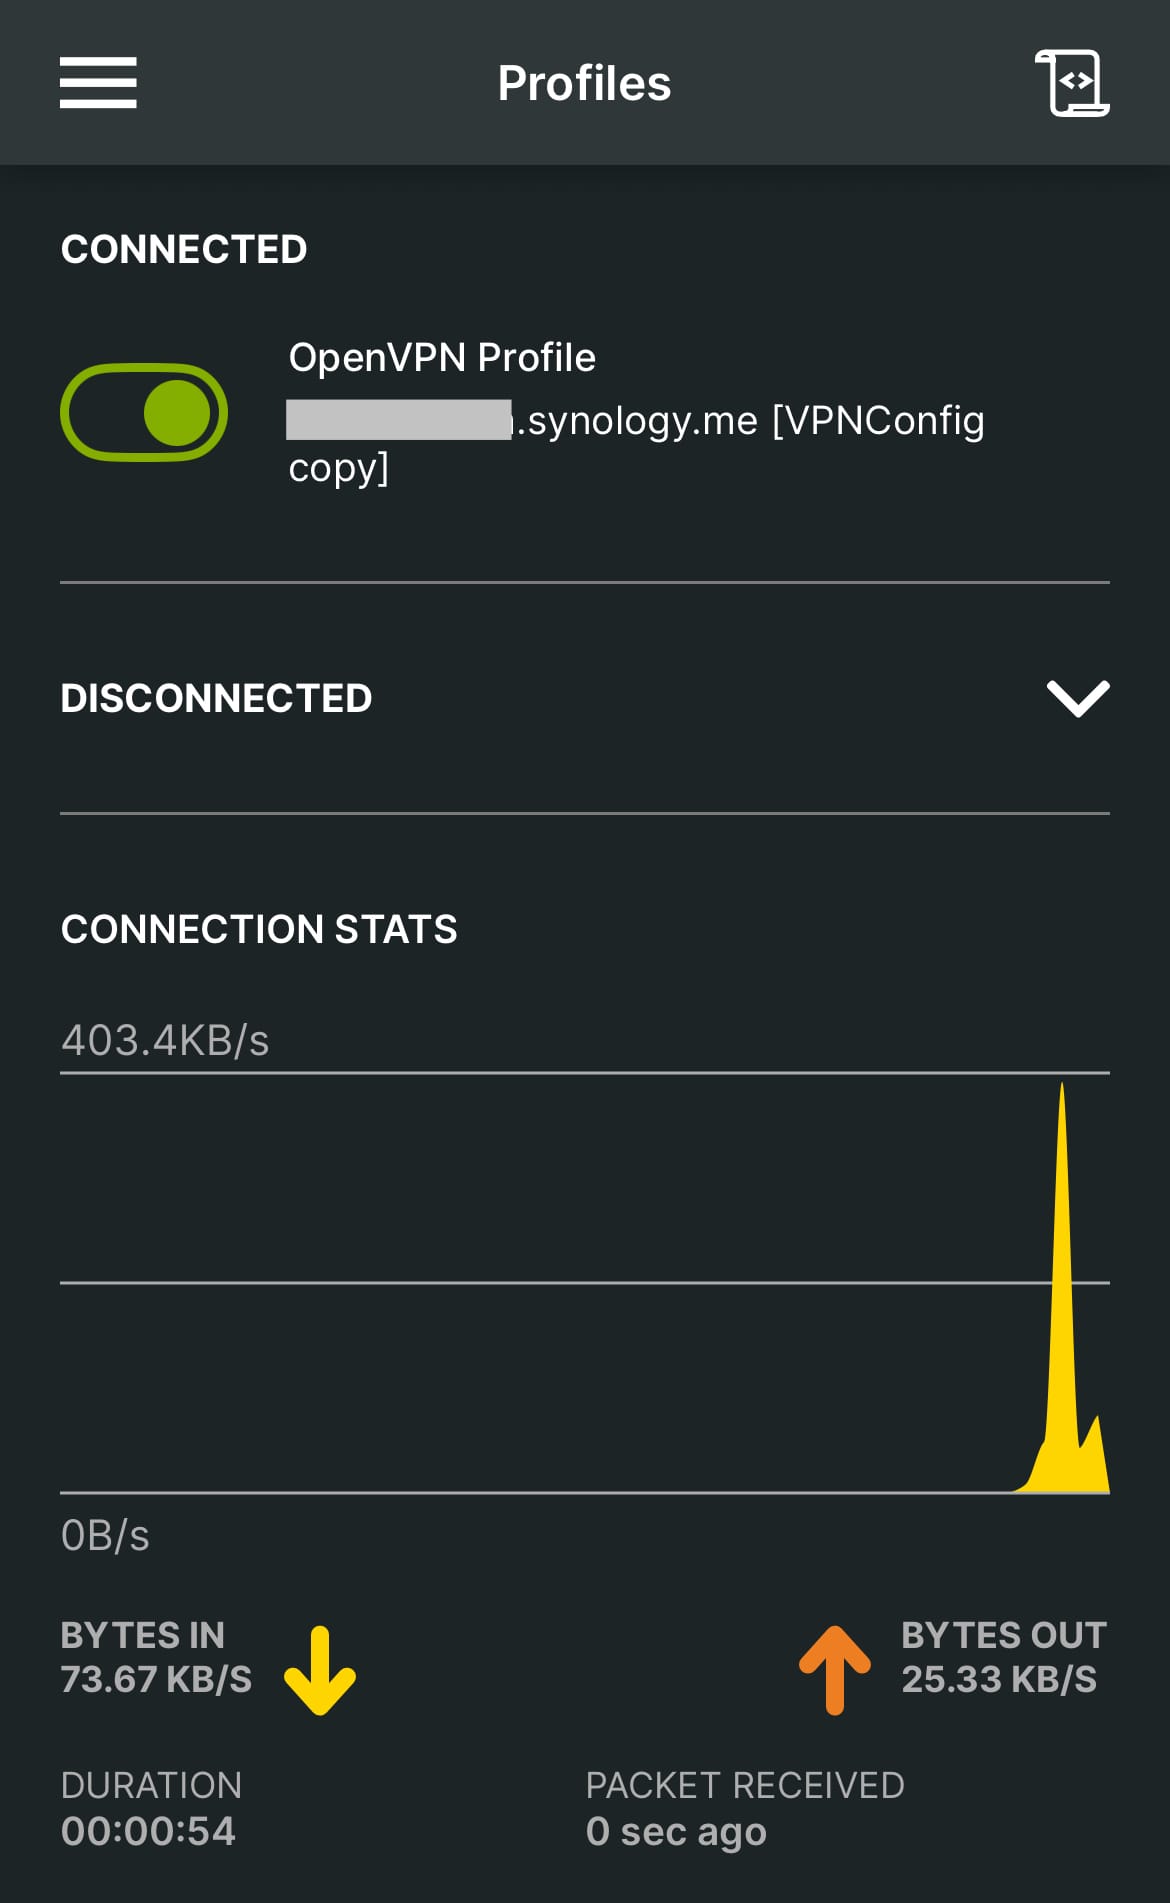
7) Connect from a Client 🥳
On the client device (Windows, macOS, iOS, Android):
- Install the OpenVPN Connect client.
- Import the .ovpn file.
- Connect using your Synology user credentials.
You should see the connected and green button!